Data collection with VR teleoperation via WebXR
Data collection in MuJoCo environment
Even if you don't have the physical robot, you can still go through the data collection process using the MuJoCo environment. This will allow you to understand the data collection process and the data format before collecting the data on the real robot. Also, this section is useful for testing your WebXR teleoperation setup and to make sure that everything is working properly before collecting the data on the real robot.
Setup for MuJoCo environment
git clone --recurse-submodules https://github.com/enactic/dora-openarm-data-collection.git
cd dora-openarm-data-collection
uv venv .venv
source .venv/bin/activate
uv pip install dora-rs-cli
dora build dataflow-webxr-mujoco.yaml --uv
Preparation for WebXR teleoperation
WebXR requires HTTPS, so a TLS certificate is needed. A self-signed certificate is enough; see the dora-openarm-webxr setup instructions for how to generate one.
If you just want to test the WebXR teleoperation, follow the instructions below to generate a self-signed certificate and use it for the WebXR teleoperation.
./nodes/dora-openarm-webxr/example/prepare_tls.sh $(hostname).local
Teleoperation in MuJoCo environment
dora run dataflow-webxr-mujoco.yaml --uv
Open http://localhost:8000/ on the local machine for the data collection UI, and open https://<YOUR_HOST_NAME>:8443/ in the Web browser on your VR device (where <YOUR_HOST_NAME> matches the value passed to prepare_tls.sh, e.g. $(hostname).local) to start teleoperation.
In the Browser on the VR device, you will see a alert to accept the self-signed certificate. Please accept it to continue.
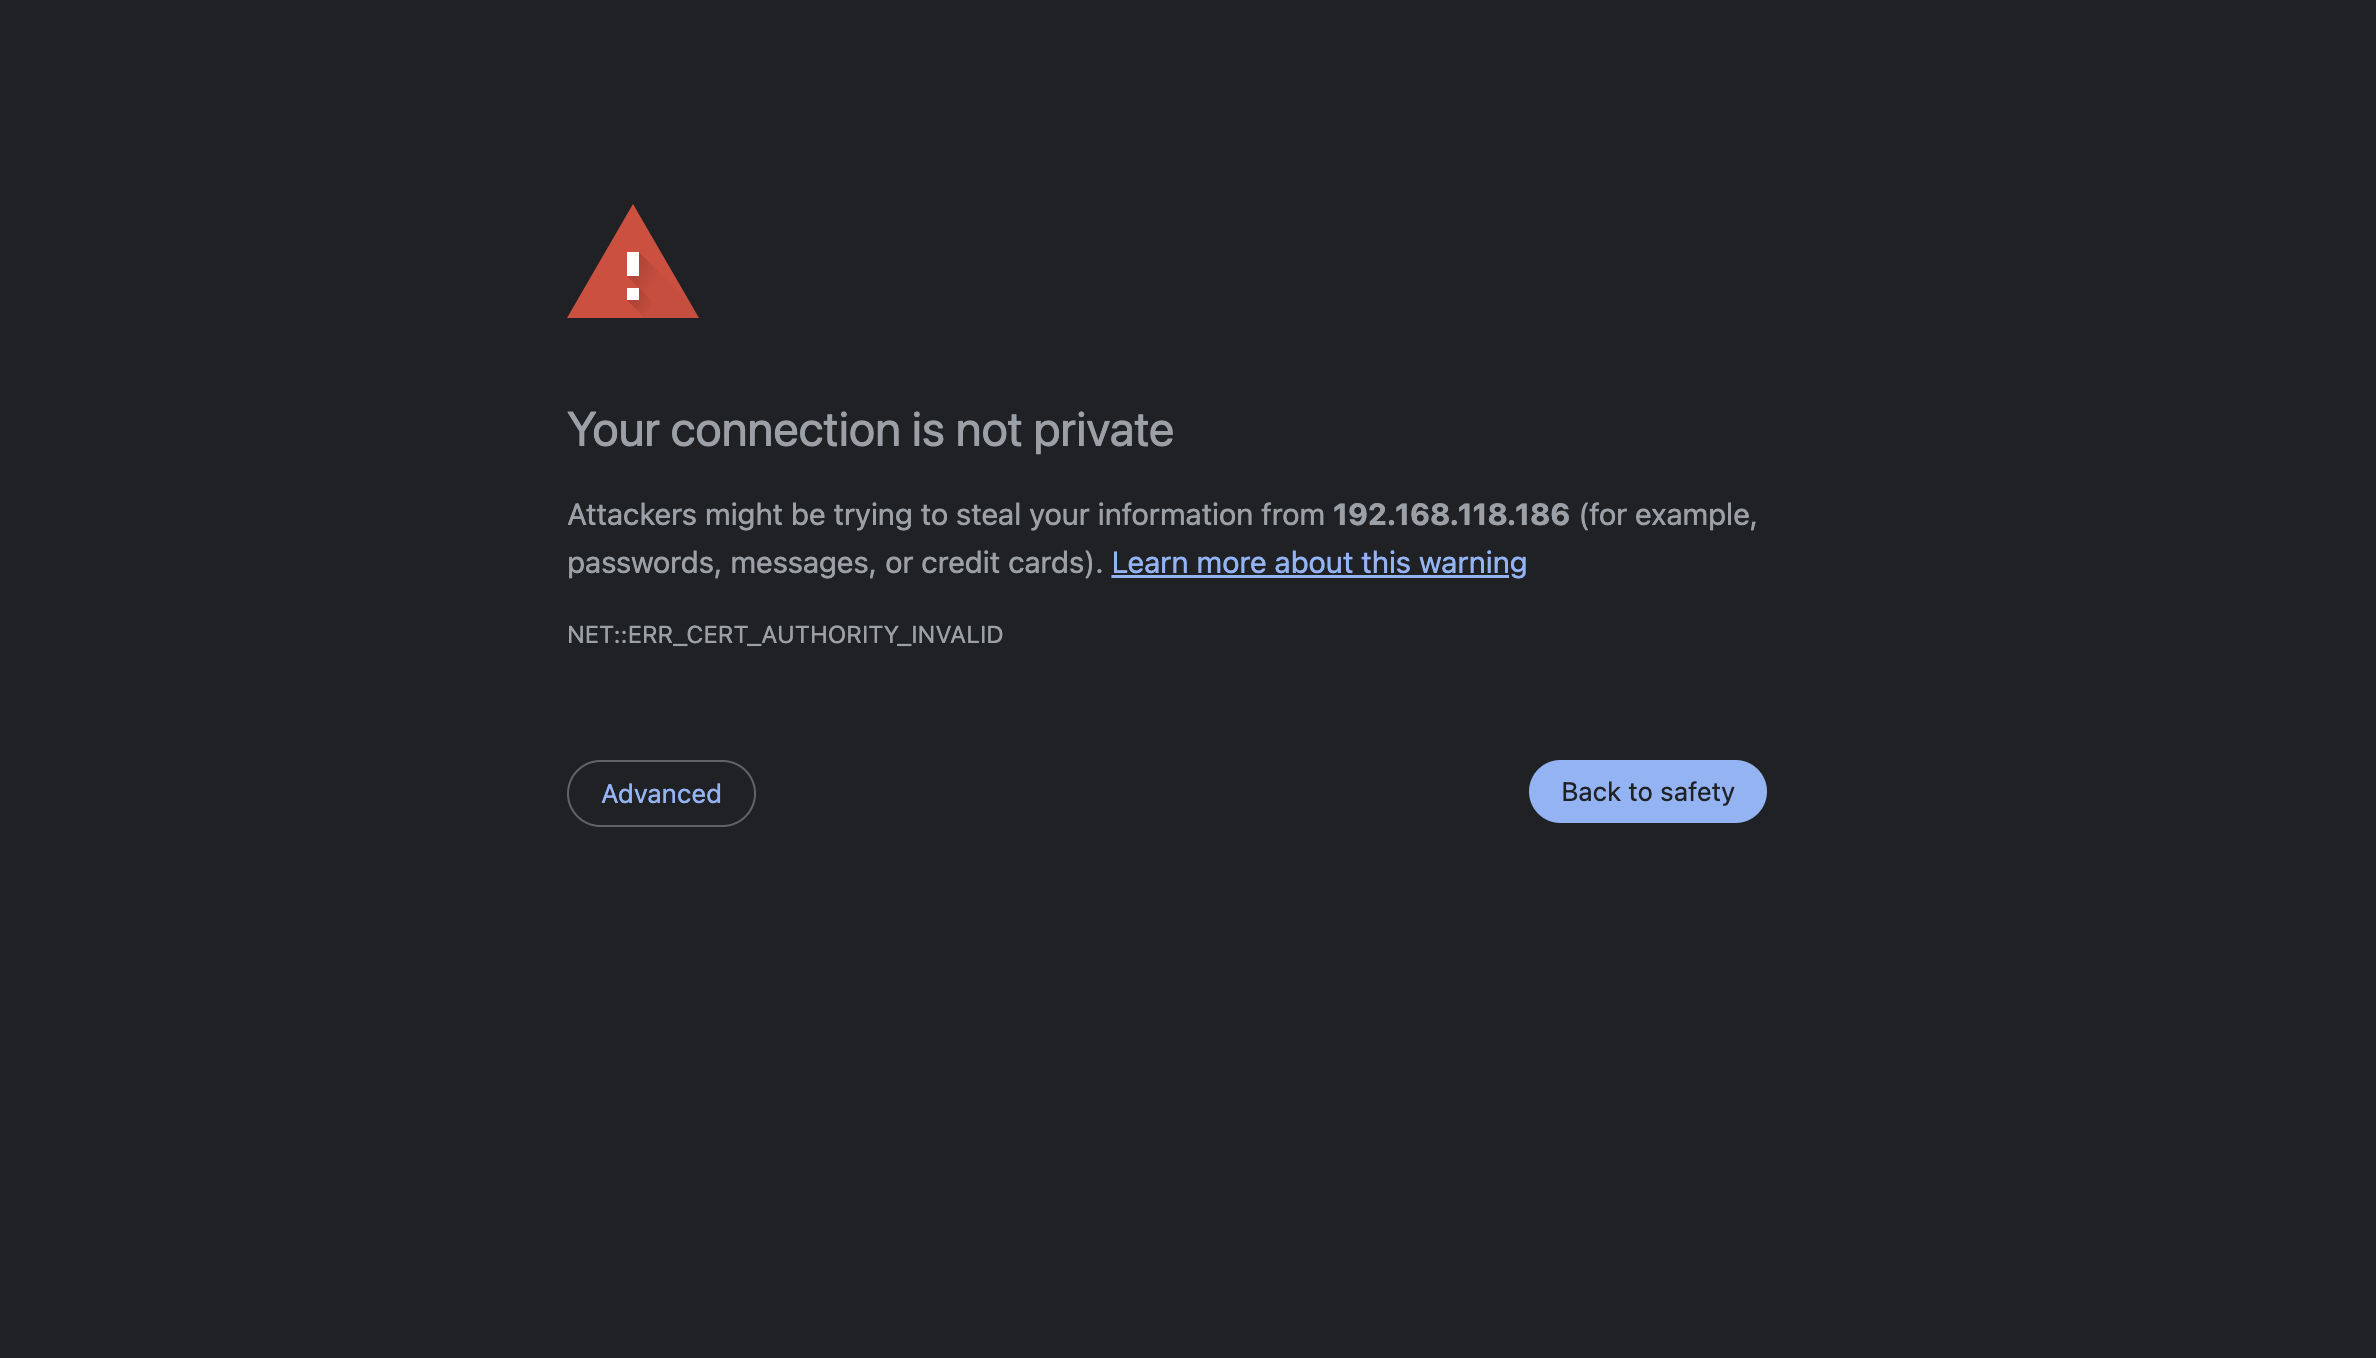
Please click the "Advanced" button to continue,
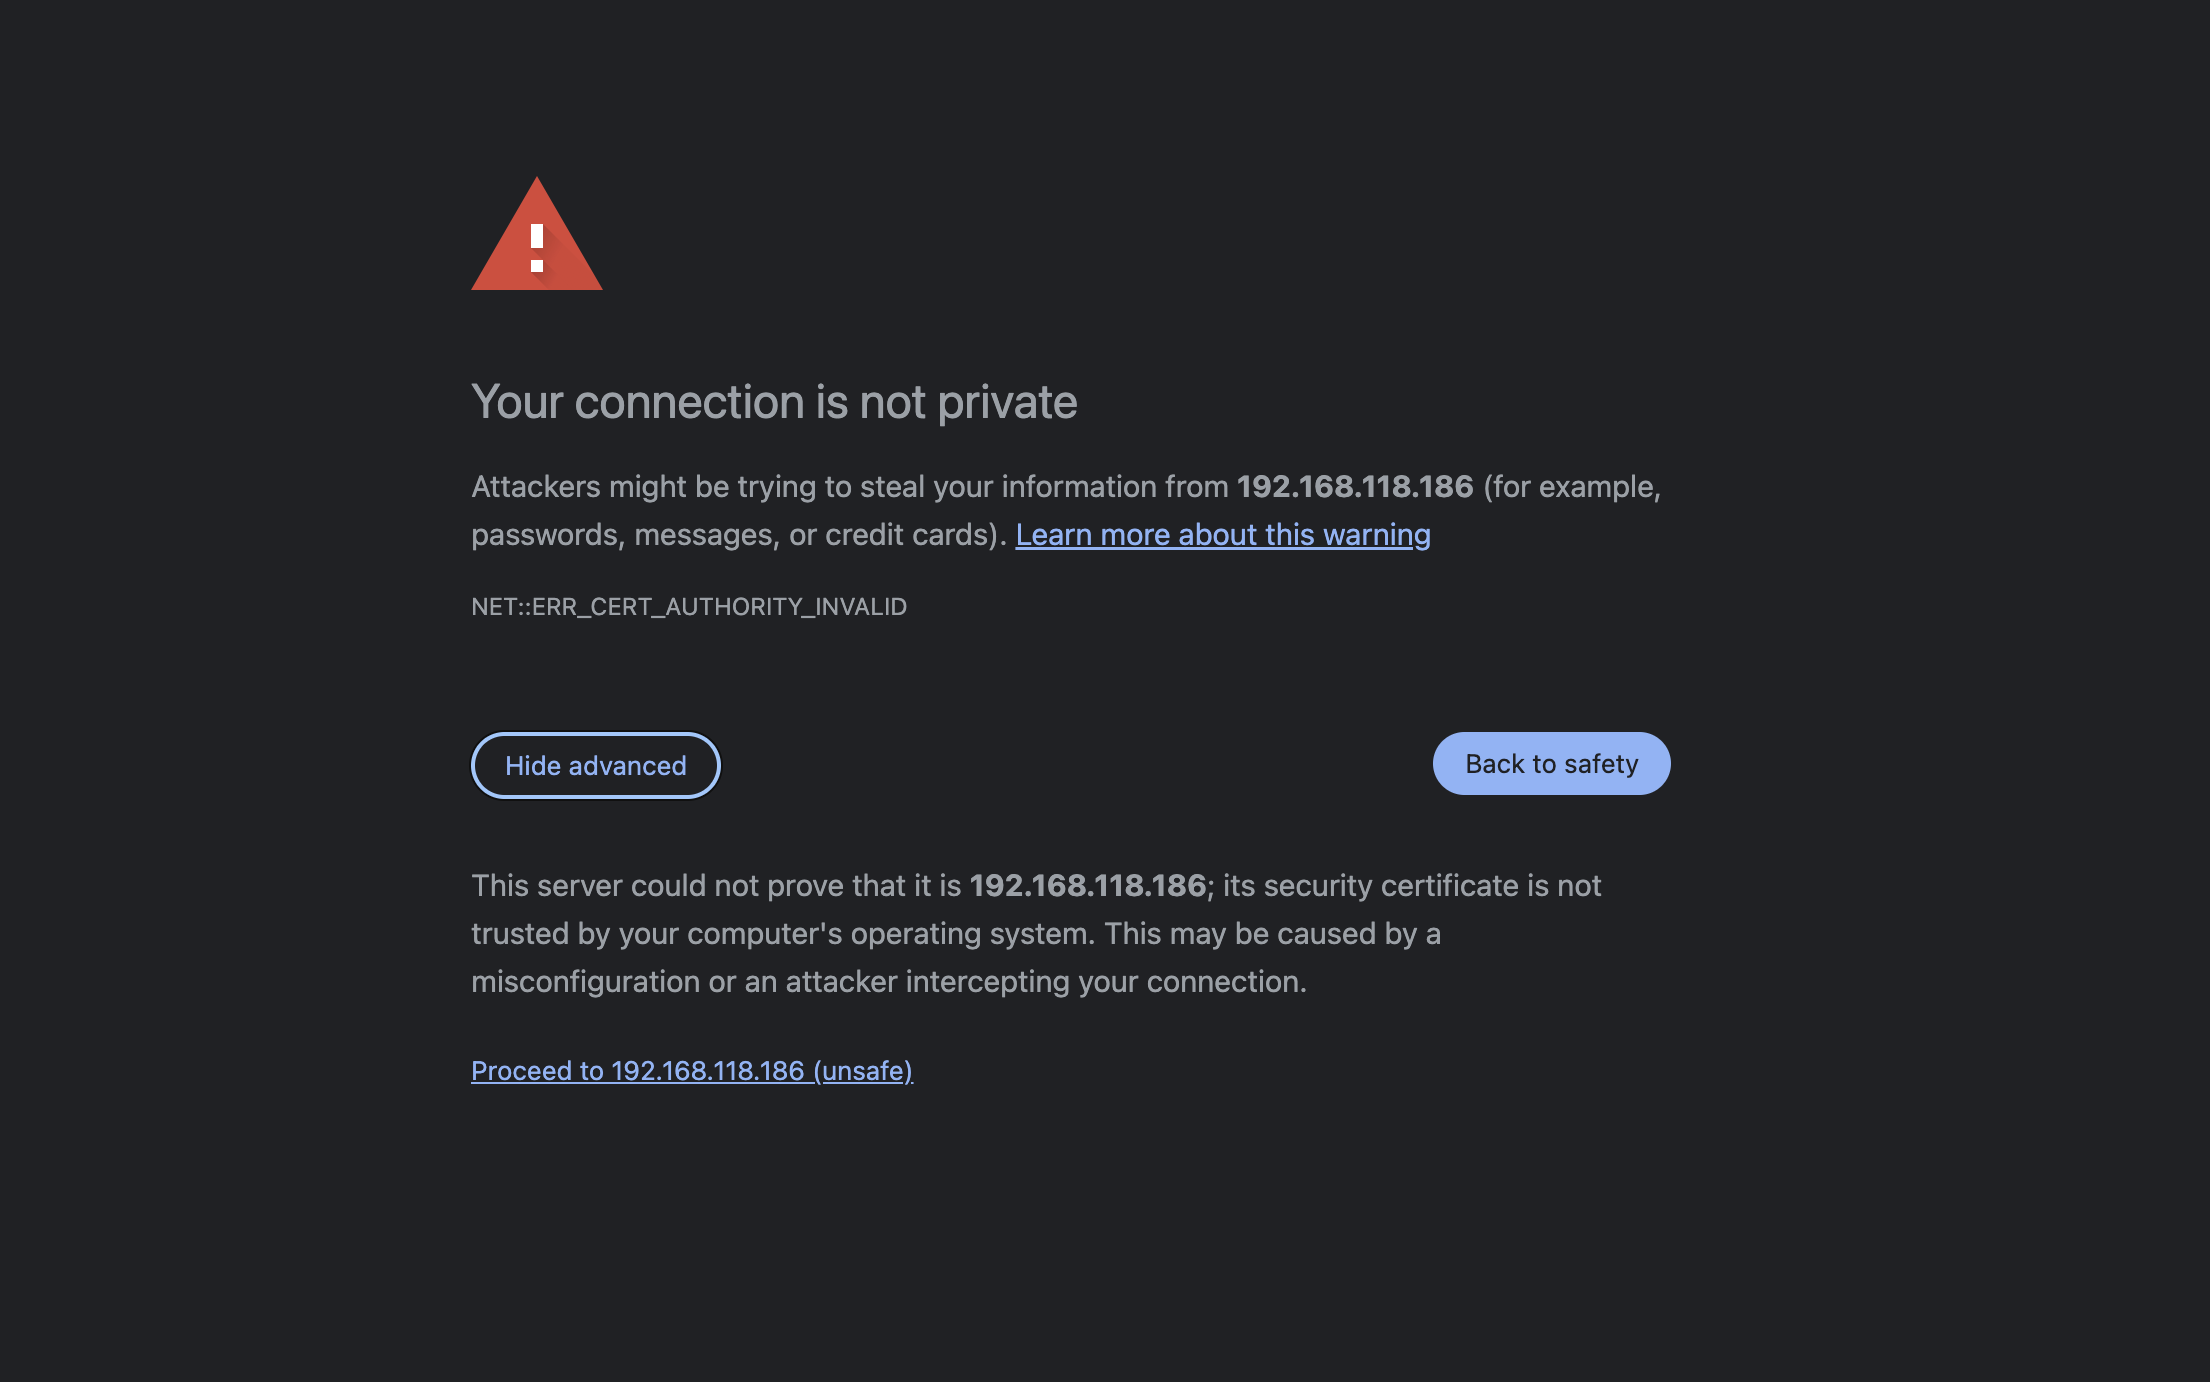
And then, click the "Proceed to <YOUR_HOST_NAME>" button to continue.
You can see the "start" button on the web page. Please click it to start the WebXR teleoperation.
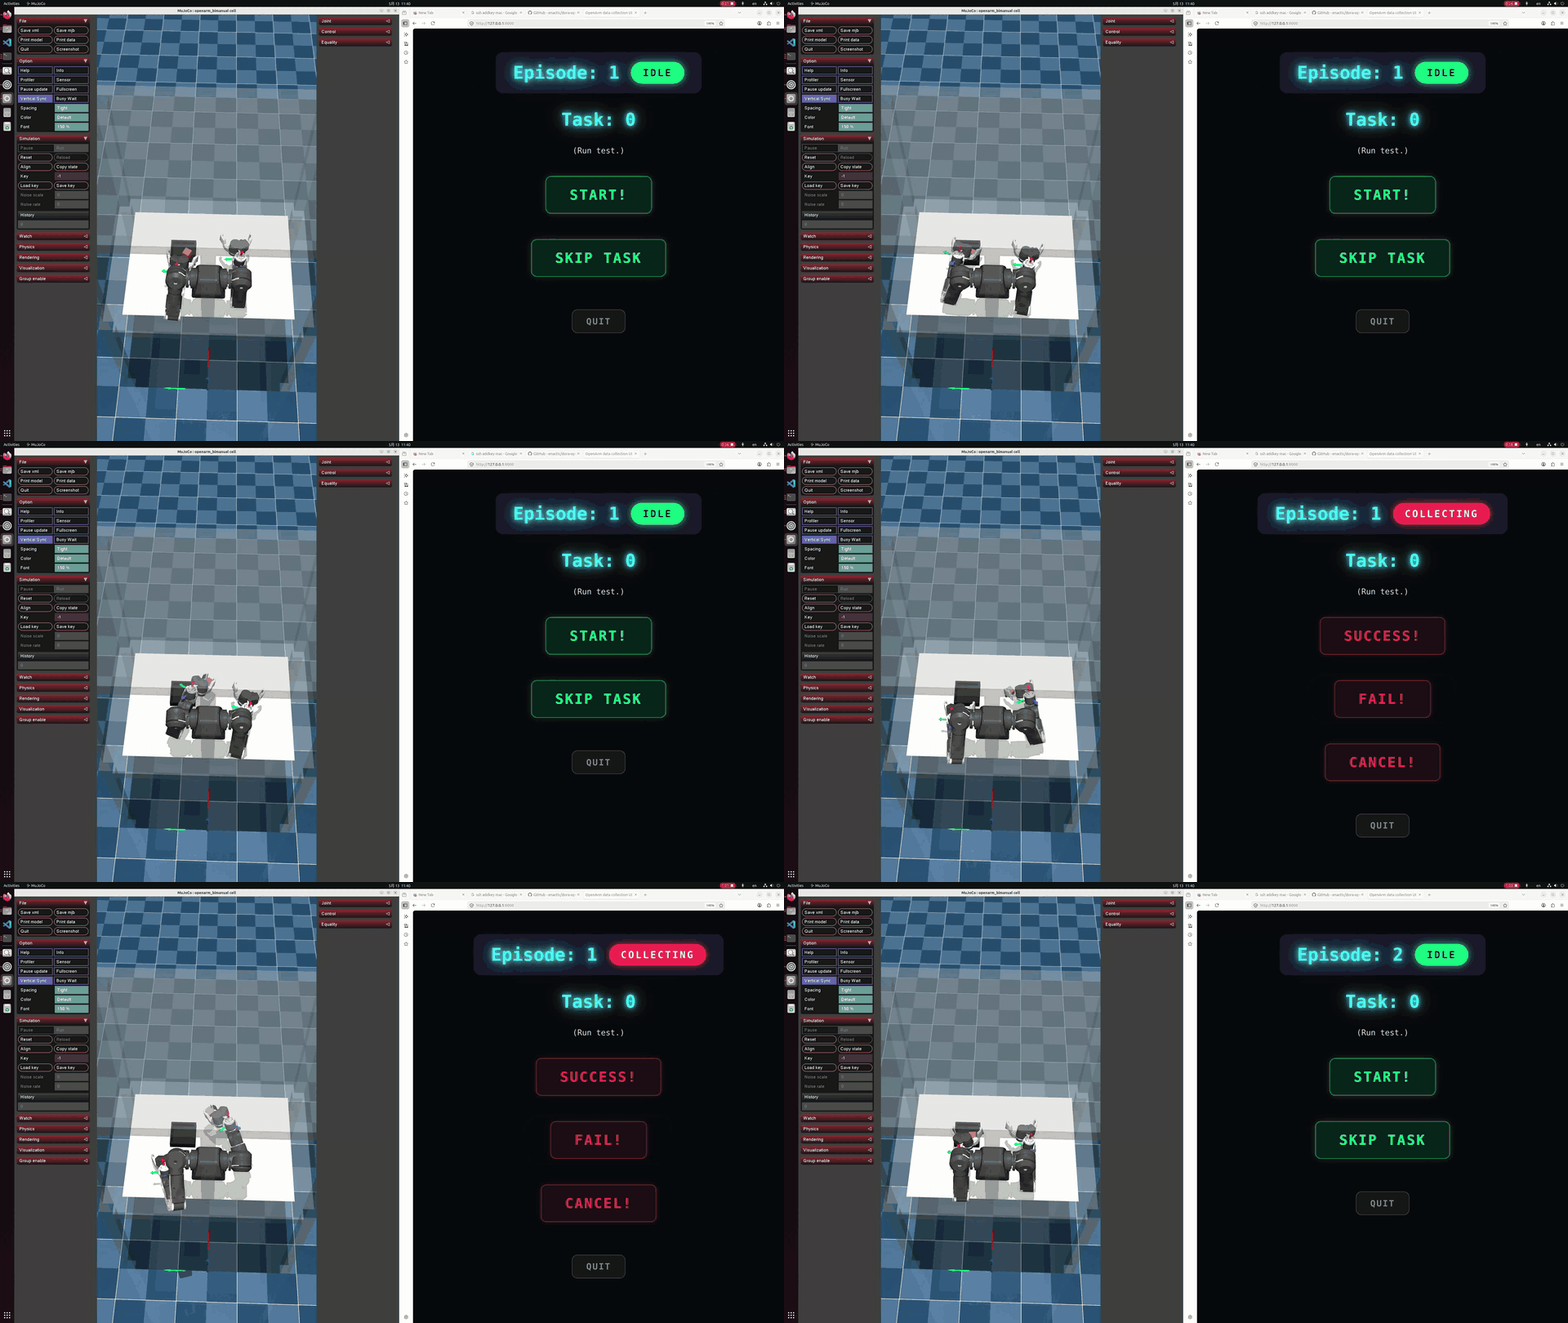
left: MuJoCo environment, right: data collection web UI
How to control data collection with VR controllers
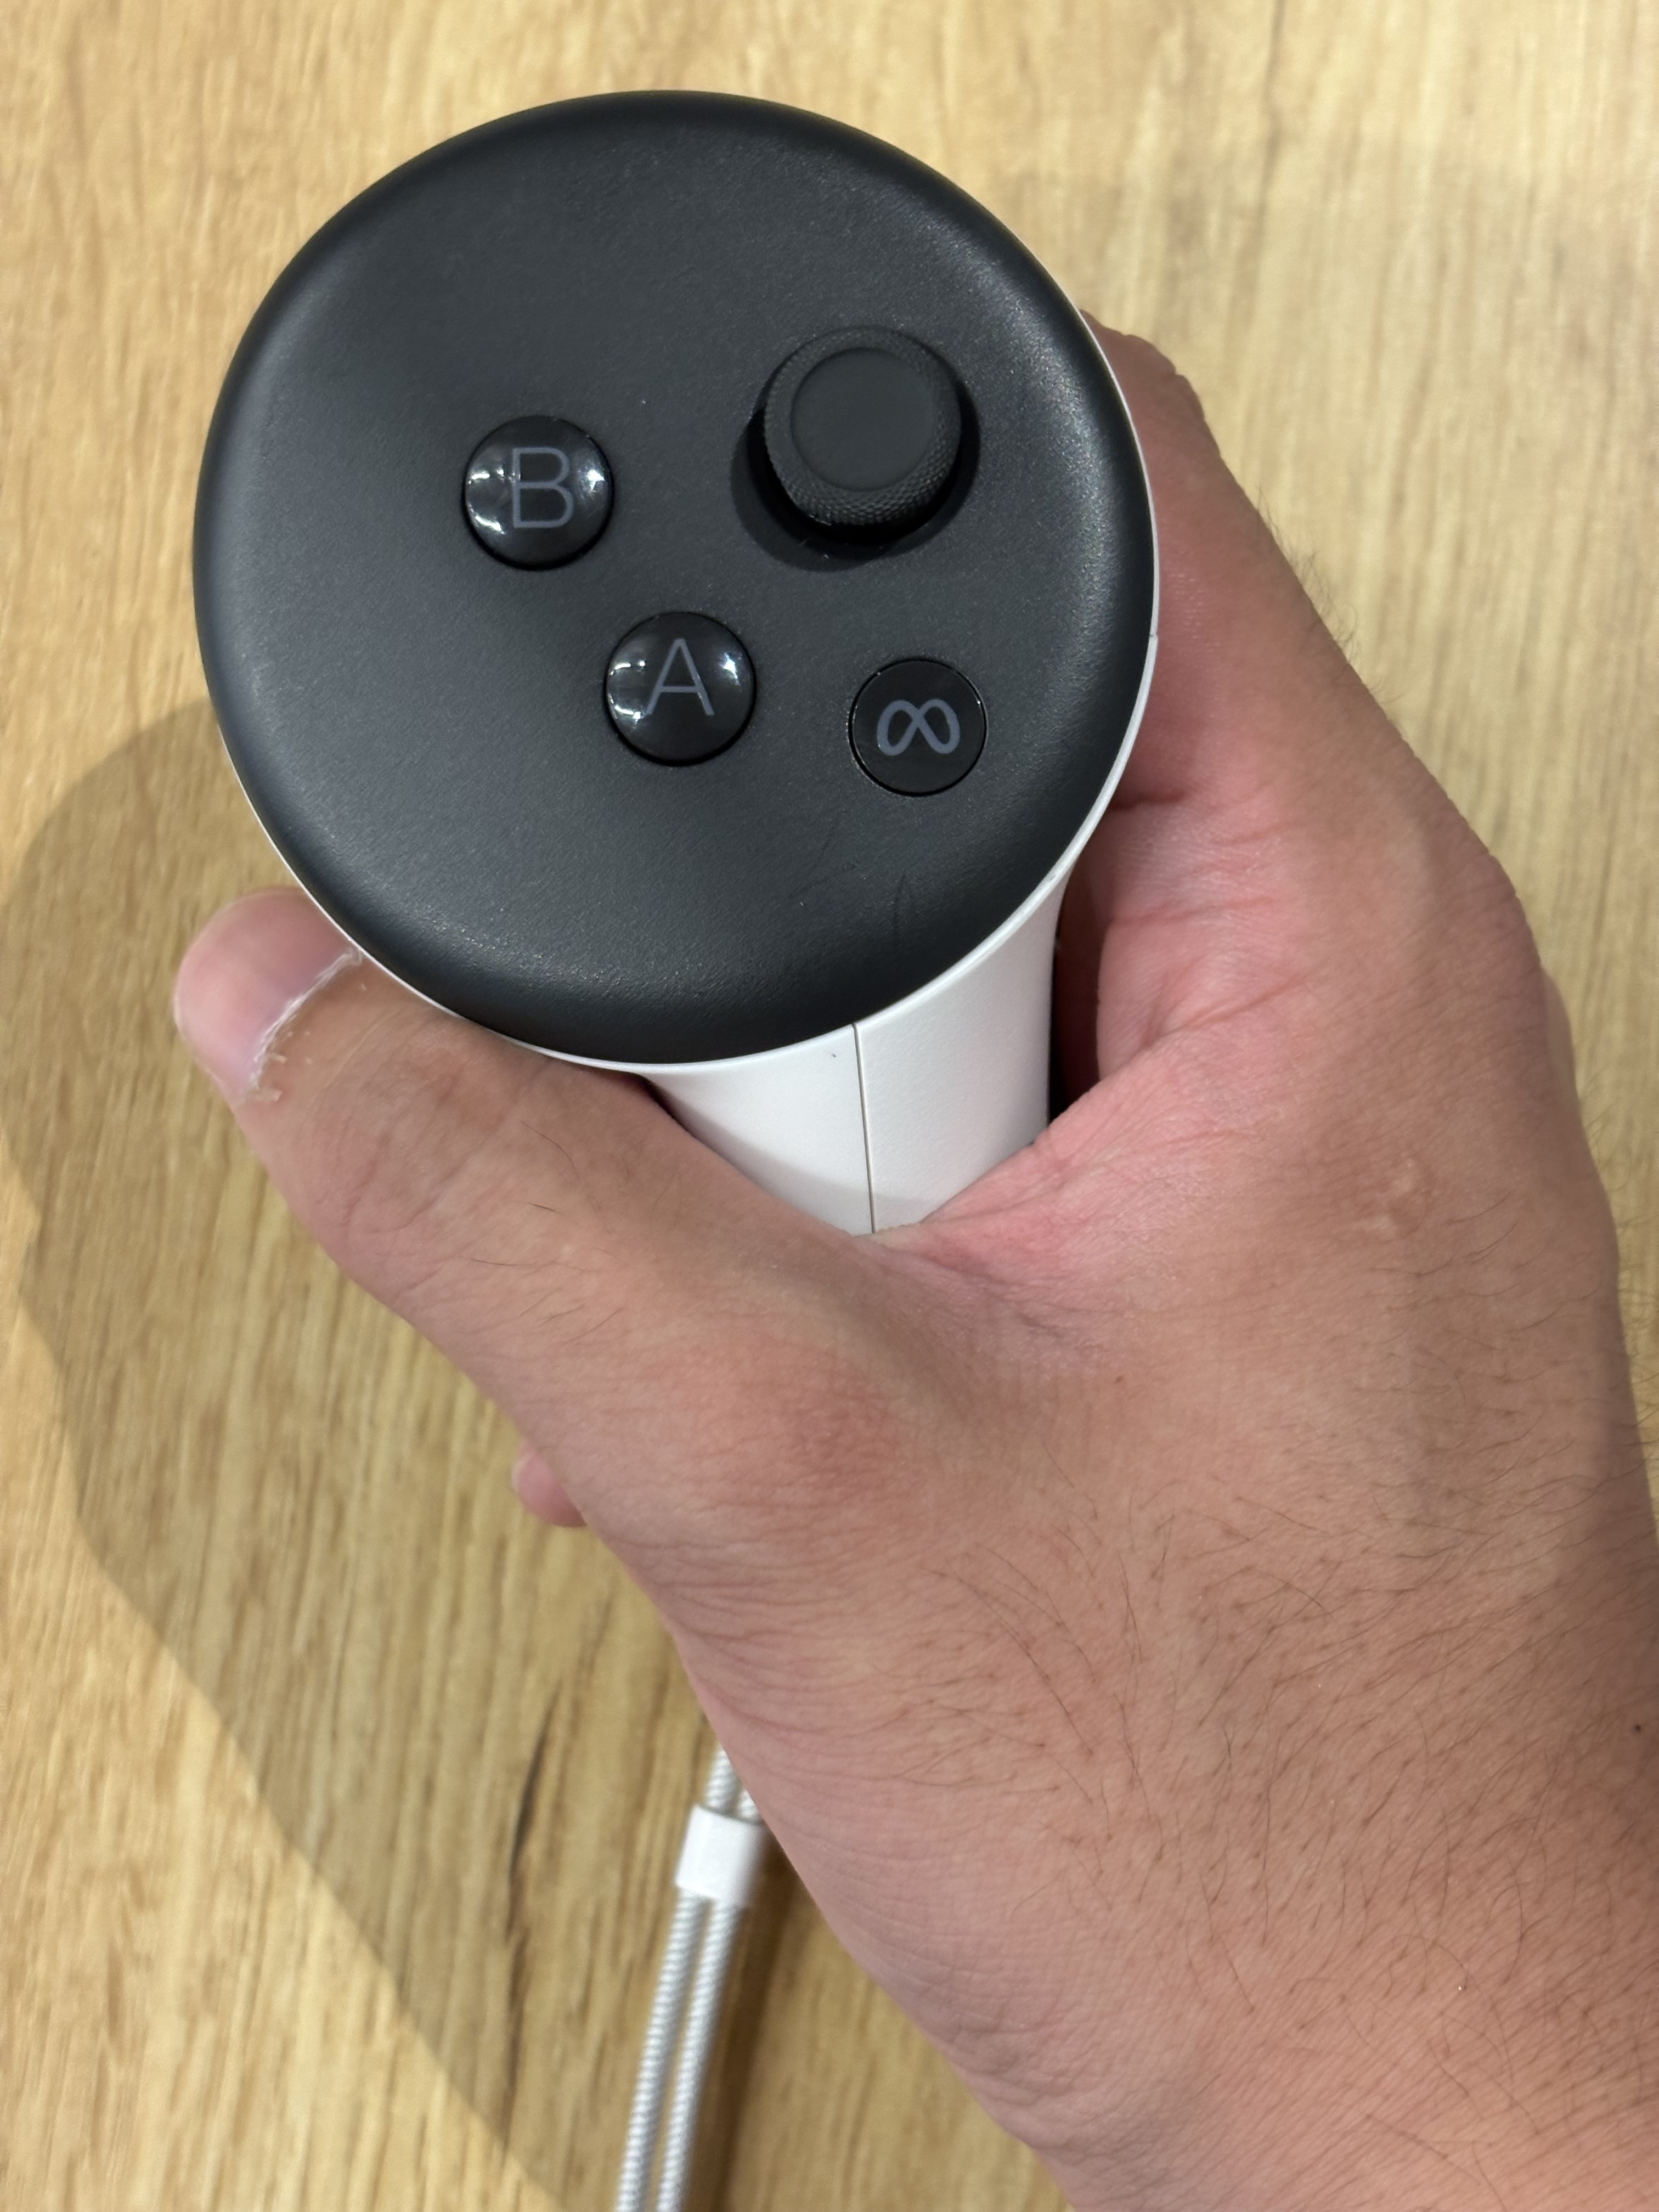
You can use button A and B on the right VR controller to control the data collection.
After the program starts, web UI will open.
Please access http://localhost:8000 to check the data collection status and control the data collection.
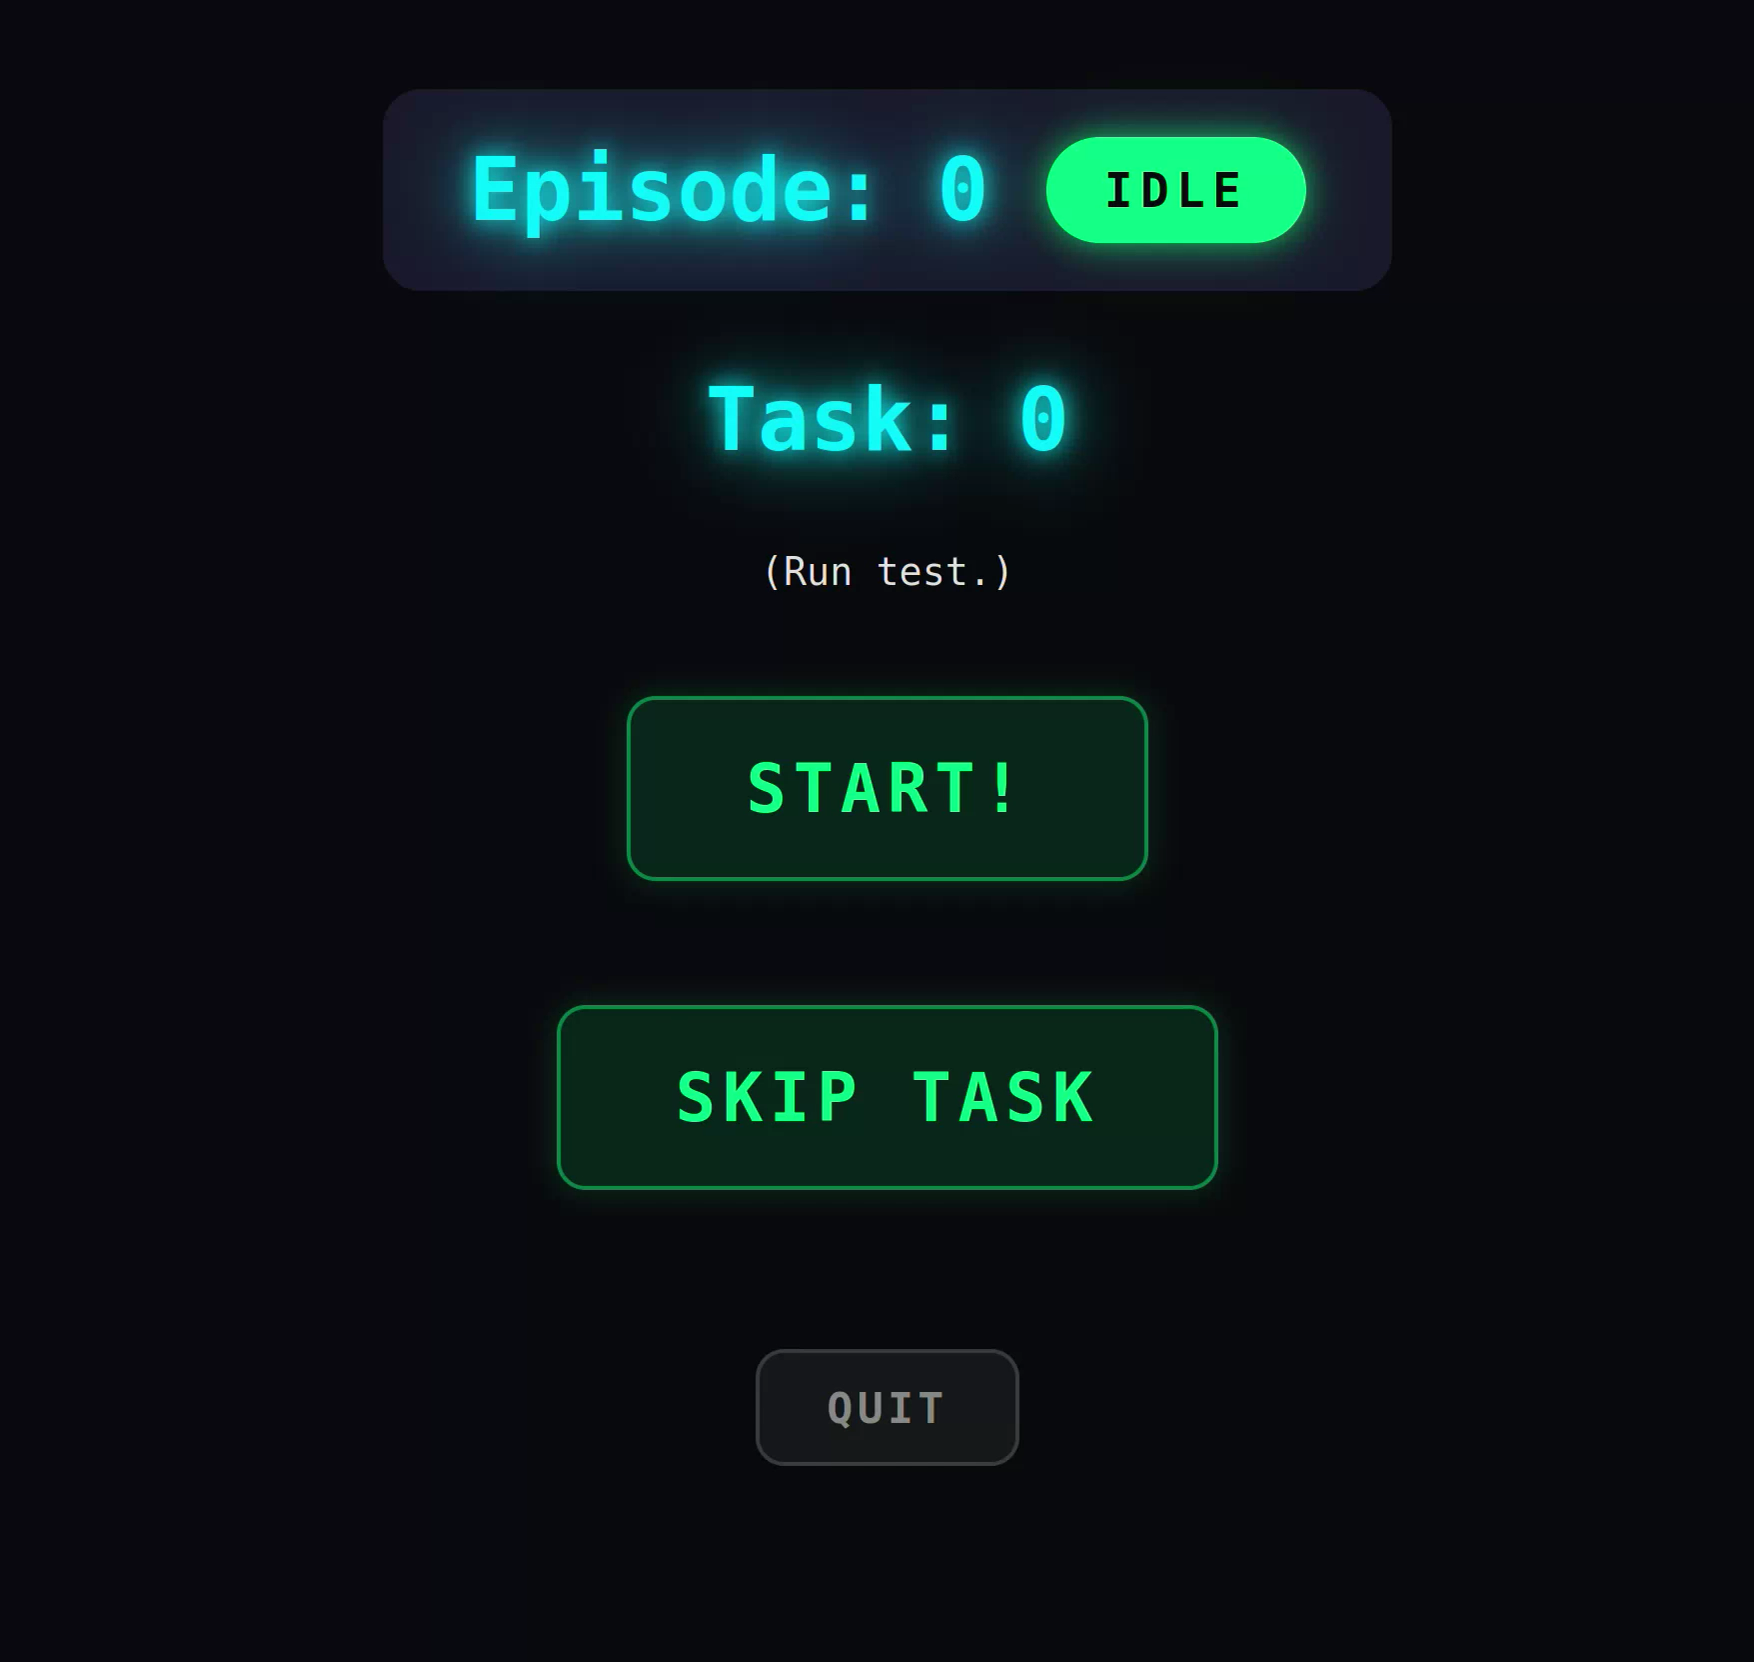
When the web UI looks like the image above, you can start the data collection by pressing the A button on the right VR controller. This will start recording the data.
- A : start recording
- B : stop recording and quit the program
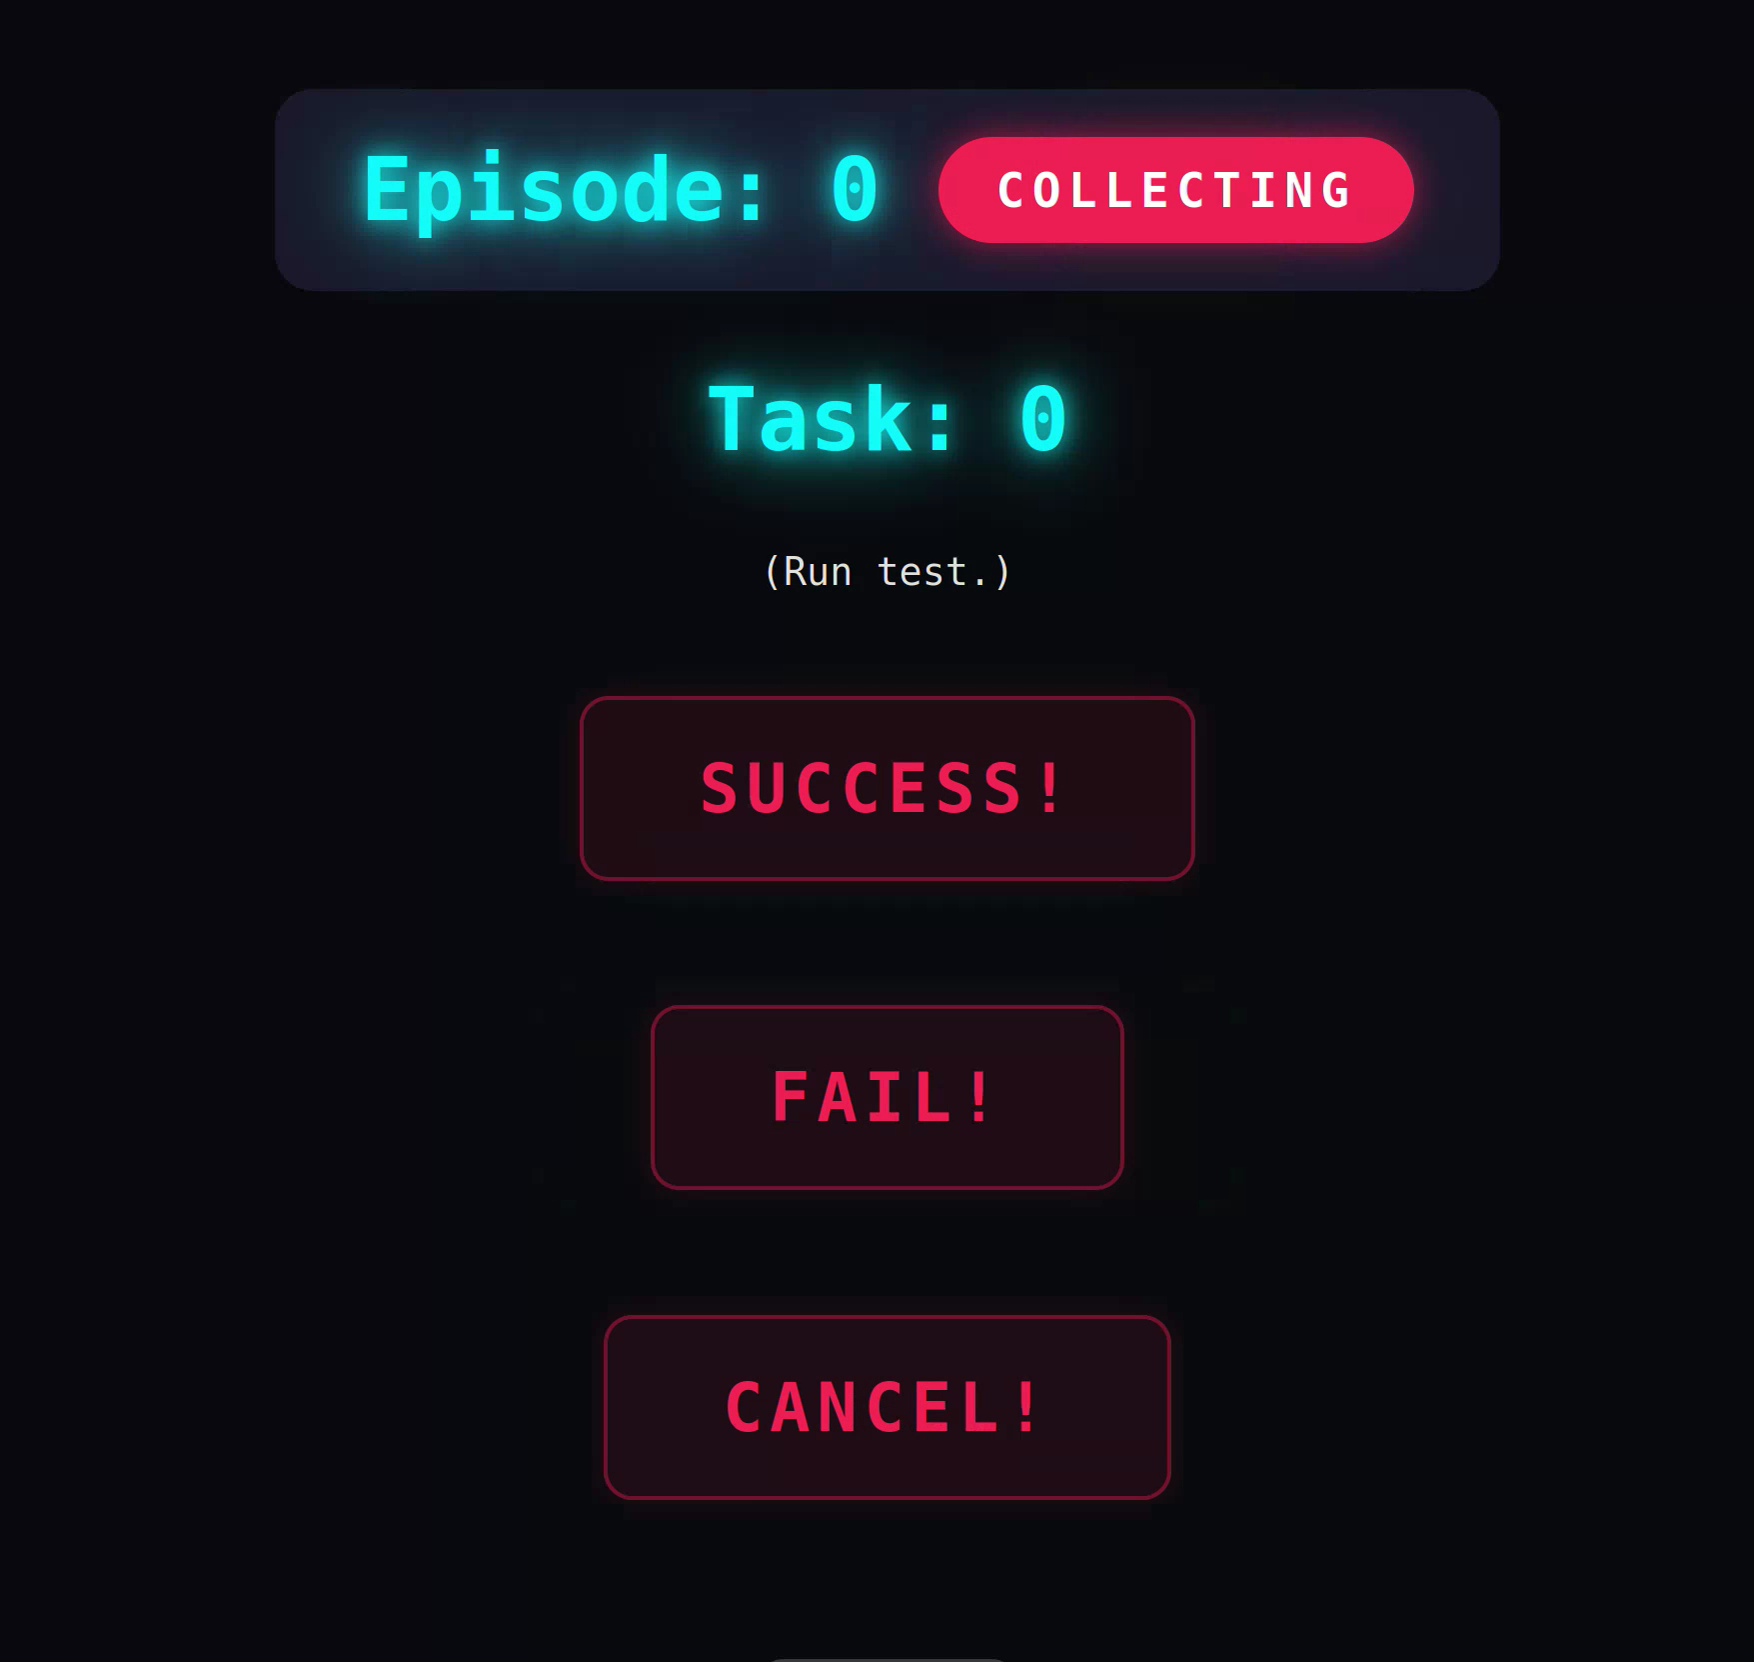
when you start recording, the data collection will start. If you successfully complete the task, press the A button again to stop recording and mark the episode as success. If you fail the task, press the B button to stop recording and mark the episode as failure.
- A : mark as success
- B : mark as failure
Check the collected data
Default data path can be found in dataflow-webxr-mujoco.yaml DIRECTORY: "webxr_mujoco_data".
If you want to change the data path, you can change the value of DIRECTORY in the config file.
- id: recorder
  build: pip install -e nodes/dora-openarm-dataset-recorder
  path: dora-openarm-dataset-recorder
  env:
    METADATA_FILE: "metadata_mujoco.yaml"
    DIRECTORY: "webxr_mujoco_data"
After finishing the data collection, you can check the collected data in the specified directory. The data will be stored in the OpenArmDataset format.
If you don't have the real robot, skip the next section and move to the dataset format conversion section to convert the collected data to the LeRobot dataset format for training the policy.
Data collection on the real robot (pedestal)
If you have the OpenArm 2.0 alone without the cell, you can collect data with WebXR teleoperation.
Start data collection
dora build dataflow-pedestal.yaml --uv
dora run dataflow-pedestal.yaml --uv
This dataflow serves the WebXR page as well, so the TLS certificate generated in preparation for WebXR teleoperation is required here too.
Open http://localhost:8000/ on the local machine for the data collection UI, and open https://<YOUR_HOST_NAME>:8443/ in the Web browser on your VR device, then press the "start" button to start teleoperation.
If the command runs successfully, the arm will move to the initial position. You need to align your VR controllers to the arm first by holding the trigger button.
Once the alignment completes, you can fully control the arm with the VR controllers.
Also, you can see the MuJoCo environment with the OpenArm 2.0 alone without the cell, and you can control the arm with the VR controllers.
The collected data is stored in pedestal_data by default, which is set as DIRECTORY of the recorder node in dataflow-pedestal.yaml.
Now, this dataflow only collect action and state data, and does not collect camera images. If you want to collect camera images, please refer to the dataflow 'dataflow-vr.yaml' for the OpenArm 2.0 with the cell.
Data collection on the real robot (Cell)
For the OpenArm 2.0 with the cell, please check the dataflow-vr.yaml and dataflow-ker.yaml for the data collection on the real robot.
You can create a dataflow-webxr.yaml for the data collection on the real robot by referring to the dataflow-vr.yaml and dataflow-ker.yaml.